Christmas Baking
This is our guide to some of the great recipes, tips and ideas we have that are suitable for Christmas. Just click on the orange link to take you to the section you'd like.
Traditionally it’s never too early to start your Christmas Pudding since some folk make theirs the year before to allow for maturing! If you’re not quite that organised… Read on for the Real Foods guide to Christmas Pudding.
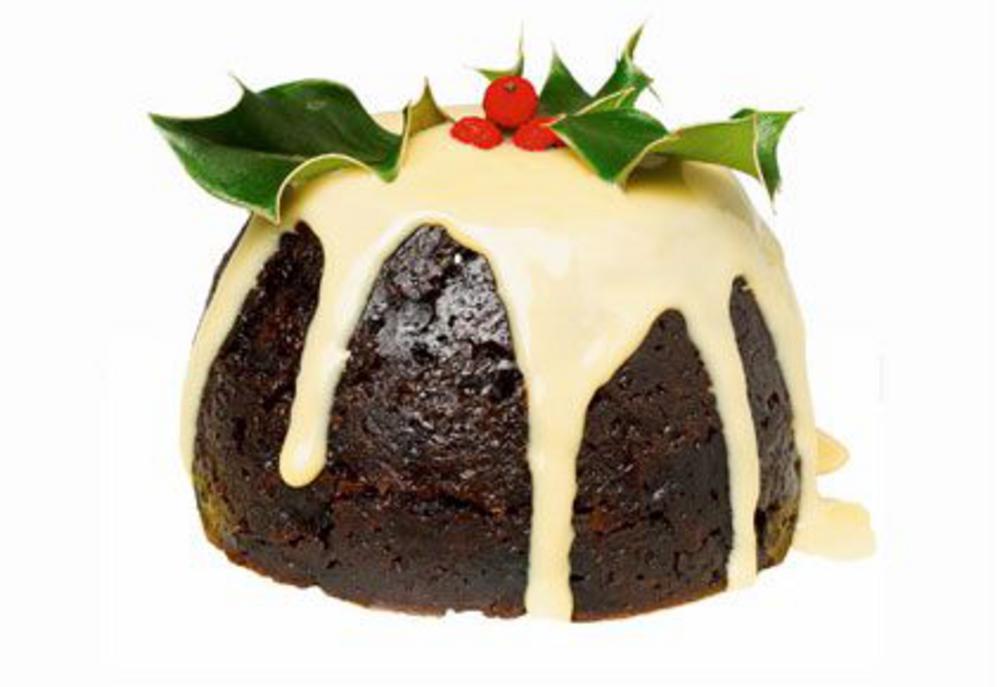
Christmas Pudding is also known as Plum Pudding. There aren’t any plums in it however, plums were a generic term for raisins in the 1600s and the name stuck. For truly traditionalist folk, the recipe is always beef suet, sugar, dried fruit, flour, spice and alcohol. Be warned - it’s very tricky to find beef suet anymore, you’ll need a specialist butcher (and quite possibly a fairly strong stomach!) Don't worry though, vegetarian suet is a perfectly acceptable and somewhat more palatable alternative.
Here’s a link to our Gluten and Wheat Free Christmas Pudding recipe.
Tried and tested by staff and customers for years, it’s a reliably tasty pudding. If you’re not avoiding gluten, simply use plain flour and don’t worry about sourcing a gluten-free stout! It uses vegetarian suet, a rich mix of dried fruits and the essential brandy. The longer you leave it, the tastier it gets, so start early, you can always make a few and give them as gifts or store them for next year. It’s not much more hassle to make two than one and think of how smug you’ll be in the lead-up to Christmas next year!
Many families have their own recipe for Christmas Pudding some handed down through the family for generations. Let us know if you think you can improve on our recipe, we'll give it a go.
Essentially the recipe brings together what traditionally were expensive or luxurious ingredients - notably the sweet spices that are so important in developing its distinctive rich aroma. It is very dark in appearance - effectively black - as a result of the dark sugars and black treacle in most recipes, and its long cooking time. The mixture can be moistened with the juice of citrus fruits (oranges or lemons are most popular), brandy and other alcohol (some recipes call for dark beers such as mild, stout or porter, in addition to brandy or even rum). The initial cooking usually involves steaming for many hours. To serve, the pudding is reheated by steaming once more and dressed with warm brandy which is set alight. It can be eaten with hard sauce, brandy butter, rum butter, cream, lemon cream, custard, or sweetened béchamel. Try with some Oat or Soya Cream for a delicious alternative.
Interesting facts about Christmas puddings: 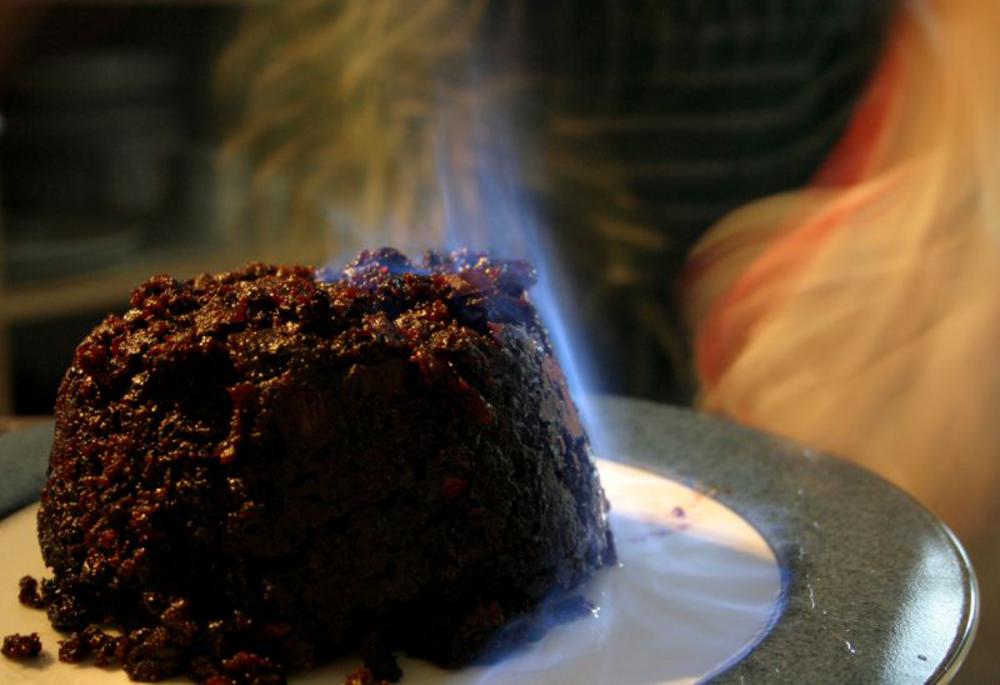
-
The origins are in medieval England
-
They are sometimes known as plum pudding or plum duff
-
Prior to the 19th century, the English Christmas pudding was boiled in a pudding cloth
-
Puddings boiled in bags were often represented as round
-
Victorian era fashion involved putting the batter into a basin and then steaming it
-
It was the Victorians that started the tradition of decorating the pudding with a sprig of holly
-
The Roman Catholic Church decreed that the pudding should be made on the 25th Sunday after Trinity
-
They also decreed that the pudding should have 13 ingredients - representing Christ and the 12 apostles
-
The whole family was expected to stir the pudding in turn from east to west - in honour of The Wise Men and their journey from the East to visit the infant Christ
-
It became traditional for each family member to make wish as they stirred that pudding
-
King George 1 is sometimes known as 'The Pudding King' because he requested that plum pudding be served as part of his royal feast in his first Christmas in England
-
It used to be common practice to include silver coins - sixpenny bits of silver threepenny bits in puddings, some people still bake them into the cake, but many folks simply add the coins under the cake to avoid emergency trips to the dentist!
-
Other tokens are also known to have been included, such as a tiny wishbone (to bring good luck), a silver thimble (for thrift), or an anchor (to symbolise safe harbour).
-
Once turned out of its basin, decorated with holly, doused in brandy, and flamed (or "fired"), the pudding is traditionally brought to the table ceremoniously, and greeted with a round of applause
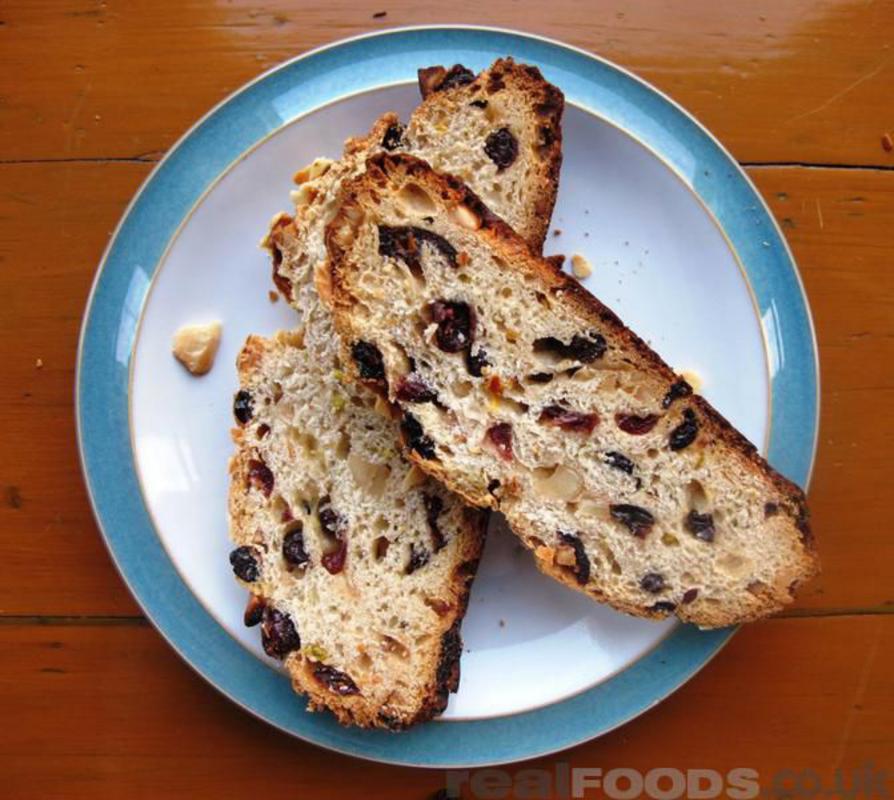
Stollen is a traditional sweet bread from Germany. It lasts several months if stored in a cool, dry place and also freezes well. It's particularly good when it's had around 2 months to mature and soak up all the sweet spices. It can be eaten sliced or toasted. To see ready-made Stollen click here - it will be available from October/November in our online Christmas Shop
Take a look at what Independent Reviewer Pam Reichhartinger-Lawlor, who writes the blog thebreadshebakes, has to say about making Stollen.
I’ve always wanted to be a Stollen lover; however, Stollen usually contains a few ingredients I’m not really a huge fan of such as candied orange & citrus peel and marzipan. Heaps of butter and sugar are normally used to preserve the bread for weeks (the typical proportions for traditional German Stollen according to the Dresdner Stollen Association are a minimum of 50% butter and 65% golden raisins when compared to flour weight).
So, I decided to piece together my own Stollen recipe with breadshebakes rules 
This is what I set out to achieve:
-
No candied orange, citrus peel or glacé cherries
-
Only high-quality organic dried fruit (yet not too much of it)
-
No marzipan roll in the middle of the Stollen – instead; homemade almond and pistachio paste mixed into the dough
-
Reduced fat and sugar content. A thick layer of butter and icing sugar is usually applied as a topping but I’m opting for egg wash and almond flakes instead.
-
It’s a sweet treat and I don’t mind it being a little “merrier” than usual

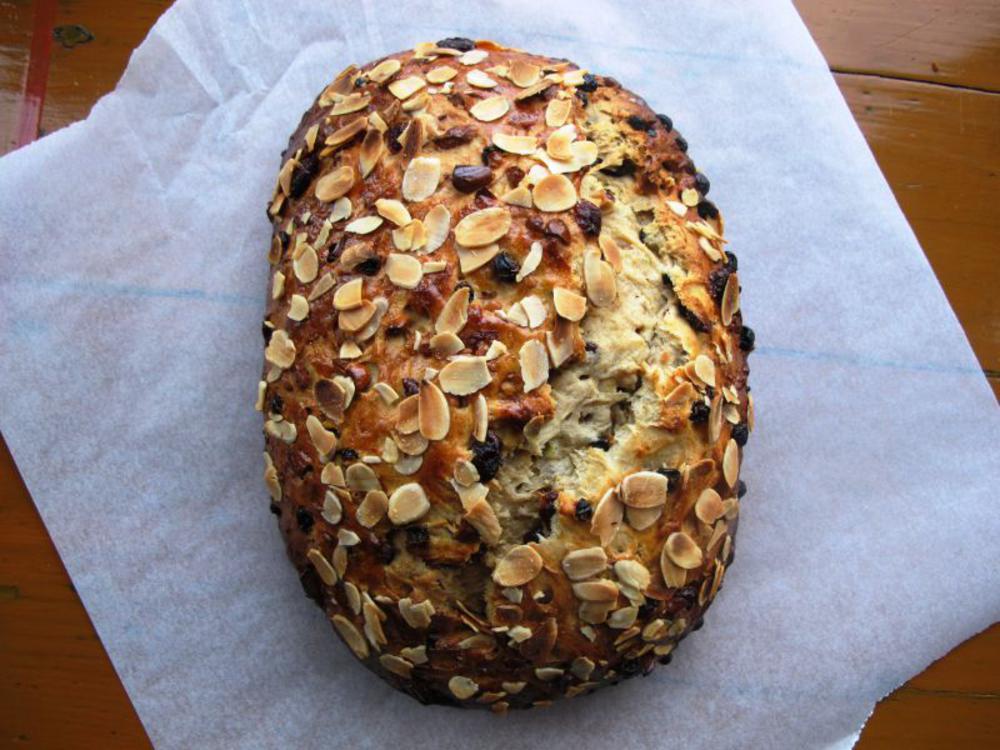
Ingredients for one Stollen (approx. 20 slices)
Note that all the ingredients should be at room temperature, so warm the milk slightly if it’s just out of the fridge.
For the fruit & nut soaker:
For the sourdough:
-
25g wheat sourdough starter
-
100g plain flour
-
100g water
For the almond & pistachio paste:
For the dough:
For the topping:
Here is how you’ll bake your Tipsy Christmas Stollen:
On the evening before baking -
-
Mix the dried fruit and chopped almonds with the rum, cover with cling film and leave overnight. This hydrates everything slightly and ensures that the fruit and nuts do not soak up too much liquid from the dough.
-
It’s really important to use good quality ingredients here as the flavours will really unfold in the baked Stollen and there is a remarkable difference in the taste.
I’ve used organic dried fruit (organic medium currants and organic dried cranberries) and almonds from Real Foods which are just perfect. The currants add lovely bursts of intense flavour and are high in antioxidants and vitamins while the cranberries give the dough a delicious sweetness while being a great source of vitamin C and dietary fibre.
-
Prepare the sourdough by mixing the above ingredients together and covering the bowl with cling film.
-
Prepare the almond and pistachio paste, cover with cling film and keep in the fridge overnight. The paste should be nice and smooth, not too wet or dry.
On the day of baking -
-
Crack the shell of the cardamom pods with a knife handle and remove the seeds. Give the seeds a quick grind with a pestle and mortar. Don’t use ground cardamom as it just doesn’t have the same fragrant, fresh flavour.
I’ve used organic cardamom pods from Real Foods which are super aromatic and perfect for Stollen.
Mix together the following ingredients to form a dough:
-
Flour, 150g sourdough, caster sugar, yeast, milk, butter, egg, 120g homemade almond & pistachio paste
-
Knead for 10 mins to develop a smooth and satiny dough. It’ll be a little sticky but that’s fine.
-
Then work in the fruits, nuts, lemon zest and spices, distributing them as evenly as possible.
-
Now leave the dough in a warm place, covered with a kitchen towel or clingfilm, until it has doubled in size (the time this takes can vary depending on the room temperature; approx. 1.5 hours).
-
Knock the air out of the risen dough and knead for another minute or two.
-
Shape the dough into an oval loaf (I’m not too bothered with the traditional fold).
-
Place on a baking tray lined with baking paper and cover with a kitchen towel.
-
Leave in a draught-free place for its second proof. Depending on the temperature in your kitchen, approximately 1 hour.
-
Use your finger to make a small dent in the dough. If the dent remains, the bread is ready to bake. If it disappears, the dough needs some more time.
-
Preheat the oven to 190°C (gas mark 5).
-
Prepare some egg wash (combine an egg and a table spoon of water and whisk together).
-
When the dough is ready, brush the stollen with the egg wash and sprinkle with almond flakes.
-
Bake in the oven on the lowest shelf for 1 hour 15 mins. If it browns too quickly, protect the bread by covering the top with tin foil. I do this after 25 mins initial baking time.
-
Use a cocktail stick or skewer to check if the dough has fully baked through as you would with a cake. The internal temperature of the loaf should be 85 – 87°C
-
Allow it to cool on the baking sheet for about 5 minutes before lifting it onto a wire rack to finish cooling.
Serve in relatively thick slices with strong coffee or tea and good quality butter. Lightly toast if you would like to heat it through.
A printable version of this Tipsy German Stollen recipe is available here in our recipes section.
Nothing beats a ginger biscuit for a warming winter treat. Try making these Gingerbread Christmas Tree biscuits with the kids. They're simple, tasty and made with Gluten Free ingredients so you can hand them out to ALL of your family and friends without worrying. (Unless they don't like ginger of course!)


If you'd prefer to get a ready-made kit as a gift or an activity, simply follow this link to see our Gingerbread kits for kids, complete with instructions and festive cutters.
Paper snowflakes are a popular activity. As long as the kid is old enough to hold some scissors, they can get to work cutting out wintry designs. Plain white printer paper is usually the easiest to use. Simply cut off an edge to make a square. Fold diagonally (the sharper the crease, the more effective the snowflake), fold diagonally again and then cut out shapes (bearing in mind the top of the triangle and most folded over part is in the middle of the snowflake), unfold and admire your unique snowflake. Obviously the more you practise the better they get!
Try making salt dough. Simply mix a cup of salt with 2 cups of flour and gradually add a cup of lukewarm water. Knead the dough for around 5 minutes, the longer you work it, the smoother it will be. It can then be stored in an airtight container for up to 4 days. Then it's creation time! Decorate with acrylic paint (Penguins are very popular!) Or cover with glitter and seal with varnish. Salt dough can air dry (although it does take time, usually overnight at least, depending on how large your creations are) or dry out in the oven. Thin flat ornaments will take around 45 minutes to an hour, whilst larger, thicker creations can take 2-3 hours. Bake at around Gas Mark 2/ 300 F/ 150 C. You can bake at higher temperatures but the dough has a tendency to discolour. Which is fine if you're painting them entirely, alternatively cover the dough when it's in the oven. If you want to add colour to the dough without painting, simply add food colouring or paint to the water before mixing up. Or add natural flavourings like instant coffee, cocoa powder or turmeric.

For a gift for a friend or relative, try decorating an empty glass jar and layering some treats into it. Just make sure the treats are unsalted as otherwise they'll draw the moisture out of the other treats and ruin the taste. Try banana chips, dried cranberries, unsalted nuts and chocolate buttons for a tasty, pretty gift. The better the measuring, the better the layering will look (and often a hit with young kids to practise their pouring and organising skills). Popular touches includhandmadede gift tags, ribbon tied around the top and personalised messages painted onto the jars.
Top tips for last minute cake decorations
 Marzipan: Simply roll out your required size and gently smooth over the top of the cake (try using a size a little larger than your cake tin), if you've not got the knack for smoothing then try popping the cake upside down on to it. It does need to be dried out (around 2 days), so if you've no time, simply add nuts and glace fruits until the entire top is covered (if you'd like it to stick firmly then a try a little glaze both under the marzipan and on top before adding the fruits and nuts. Use a couple of tablespoons of jam and whisky (or orange juice). Then wrap with a ribbon and admire!
One easy idea is to grab a few food dyes and mix into a few pieces of marzipan. Shape them into little cubes and leave to dry for a while, then tie a little ribbon around each and voila! Mini parcels on your cake.
If you're not keen on marzipan, try some roll-out icing (also known as sugar paste). Pop on some gold and silver decorations, or splash out and get some ready-made reindeer and a little Santa. If you'd prefer a simpler option, pop on the roll out icing, decorate some more fondant icing with food colours and cut them out into shapes (try green trees, red candles or gold stars). Glaze with a little water to make the cake gleam. Or try a touch of gold leaf!
For the classic Royal Icing: it's a mixture of icing sugar, egg white and glycerine which produces a thick, glossy, spreadable icing/frosting which dries to a hard, sweet finish. Basically, it's tricky unless you want to do the 'snow' effect of waves. To get it utterly smooth, do it as quickly as possible as it stiffens quickly. Use a couple of drops of water to loosen it.
If you dislike both icing sugar and marzipan or simply fancy a change, try heating up some apricot jam and sieve it, brush on top of the cake with it and press in the fruits, nuts or decorations.
Top tips
-
Always use the bottom of the cake to decorate – it's flat!
-
Use a broad ribbon to cover up the sides.
-
There are many recipes out there and most regular bakers will have their favourite. For a beautifully tasty gluten-free version you should try Real Foods recipe. For many people the smell as it is cooking is the first happy moment of Christmas! (Incidentally, the taste is great too!)
-
Whatever recipe you choose to use, we recommend soaking your dried fruits overnight. Dried fruits are as the name suggests dry, so if you put them in your cake without soaking them first they will suck up all the liquid you use and you will not get a moist cake. You can soak the fruit in water, or try cider. Soaking overnight is ideal, but don’t worry if you forget – use boiling water and leaving the fruit for just an hour or so to get almost as good a result.
-
The other thing we would strongly recommend is coating the drained dried fruit in a little of the flour from the cake mixture before mixing it all together. This will stop the fruit sinking to the bottom of the cake.
-
Now your cake is cooking in the oven, the kitchen has been cleaned; the dishes have been washed, sit back and savour the wonderful aroma of mixed spices and molasses while you enjoy a refreshing, reviving cup of herbal tea. The only worry is how to know if your cake is cooked. It’s horrible to cut into your cake on Christmas day and discover a soggy bit in the middle! Our tip here is to forget all those instructions about poking the middle and it springing back – invest in a ‘Cake Tester’. This is really a very fine skewer. Push into the centre of your cake and pull out again, if it comes out clean then your cake is cooked, if it has little globes of cake mixture on it then the cake needs a little longer in the oven – simple.
-
To store your cake wrap it first in greaseproof paper and then in foil – for recycled versions of both visit our shops either in town or online – and put it in a cool, dry place until it’s time to decorate it.
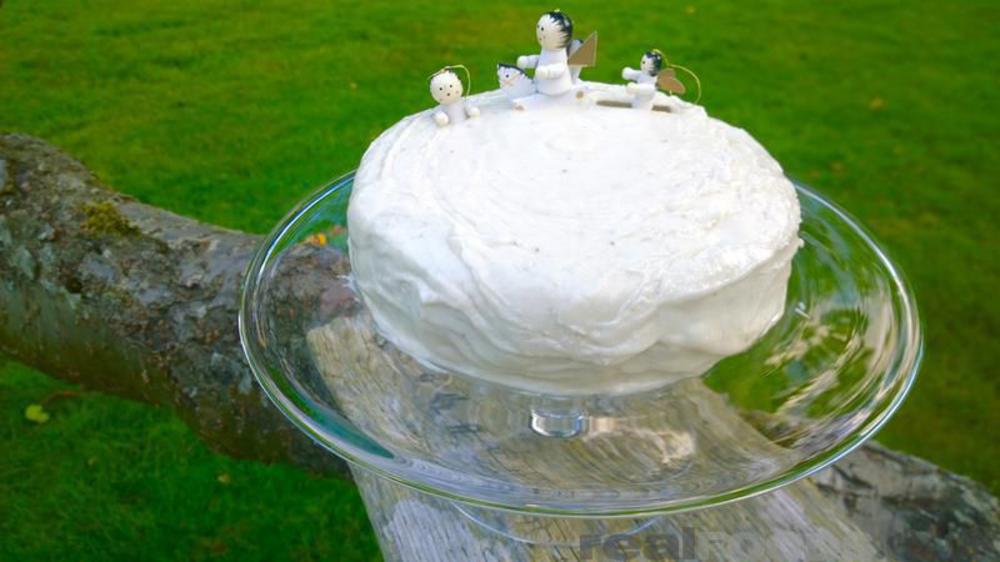
Vegan, Gluten Free and Alcohol-Free Christmas Cake recipe is available here. This Delicious and Rich Fruit Cake will become your new favourite recipe for Christmas and other family celebrations. It is free from Eggs, Dairy, Wheat, Gluten and Alcohol, and therefore suitable for everyone! And it is a proper Christmas cake too, with the icing made of 2 surprising ingredients: banana and icing sugar. But for a lighter Christmas cake, please feel free to leave out the icing.